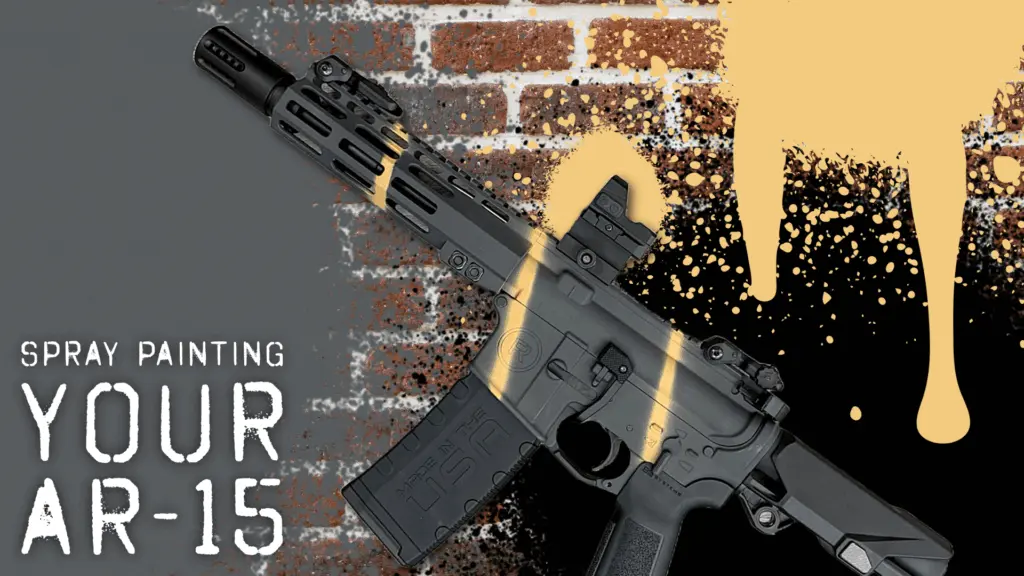
If you’ve ever stared at your factory-black AR-15 and thought, “This could look way better…” — you’re not alone. Spray-painting your AR-15 isn’t just about customizing its appearance. It’s a bold move that blends tactical functionality with personal expression. When done right, it adds real camouflage, tells a story, and builds a battle-worn look that feels right at home in the field.
Let’s break down how to do it the right way — so your AR doesn’t just look tough, it lasts.
Why Choose Spray Paint for Your AR-15?
Spray paint stands out for one major reason: it’s flexible. While finishes like Cerakote or anodizing are durable and professional, they’re also permanent and pricey. In contrast, spray painting is easy, low-cost, and honest. Here’s why it continues to be a favorite among tactical shooters and DIYers:
- Cost-effective: No need for a pro shop. A few $5 cans and you’re good.
- DIY-friendly: You can start with zero experience. No heat curing or special tools required.
- Evolves with wear: Unlike Cerakote that looks the same forever, spray paint develops wear patterns over time that reflect real usage.
- Reversible: Don’t like it? Strip it with acetone or isopropyl alcohol and try again.
This type of paint job isn’t forever — and that’s the point. It’s as rugged and adaptable as your rifle.

What You’ll Need Before You Paint
Planning is half the battle when it comes to a successful paint job. Assemble these tools before you begin:
| Essential Tools | Recommended Brands/Notes |
|---|---|
| Spray Paint | Krylon, Rust-Oleum Camo, or Rapco. Use flat, matte colors. |
| Base Colors | FDE, OD green, coyote brown, tan, black. |
| Stencils/Patterns | Mesh netting, burlap, cut-out cardboard, grass, branches. |
| Masking Supplies | Blue painter’s tape, gloves, maybe a plastic bag or two. |
| Degreaser | Isopropyl alcohol (safe) or acetone (stronger). |
| Optional Clear Coat | Matte finish for added protection. |
Prepping the AR-15: Where Most Mistakes Happen
Preparation is the step that makes or breaks your paint job. Don’t skip this. Don’t rush it either.
- Triple-check the rifle is unloaded — Remove mag, check chamber, and check again.
- Field strip it — Remove any parts you don’t want painted (like optics).
- Degrease thoroughly. Any oil ruins adhesion.
- Mask the important stuff:
- Lenses (optics, lights)
- Adjustment dials
- Bore and flash hider (plug it with tape or a dowel)
- Magwell (tape it off or insert an old mag)
Yes, you can paint over rail covers, grips, even your sling. But avoid coating anything that affects mechanical function.
Spray Painting Your AR-15: Technique Matters
Here’s where the creativity kicks in. But don’t overthink it.
- Base coat first: Start with a light tan or FDE. Spray in long strokes, beginning and ending off the rifle to avoid pooling.
- Let it dry: Wait 15–30 minutes between light coats.
- Apply contrast: Add layers of brown, green, or black using stencils or natural foliage for breakup.
- Use light layers: Let the colors overlap. Nature isn’t symmetrical — your rifle shouldn’t be either.
- Cure it: You can use it the same day, but for longer-lasting results, let it cure for 48 hours before hard use.
A little wear adds character. But patience adds durability.
Realism Over Perfection
Want your AR to look truly “battle-worn”? Don’t try to fake it. Just use it.
That scratched magwell? The rubbed-off finish on the grip? Those are real stories. Let them happen naturally. Over time, your paint job will break in like a favorite pair of boots.

Pro Tips to Maximize Results
- Paint mounts and light bodies, just not their functional elements.
- Don’t aim for symmetry. Asymmetry looks more authentic in the field.
- No such thing as mistakes — only “version one.” Repaint if needed.
How Durable Is Spray Paint on an AR-15?
Let’s be honest. This isn’t Cerakote.
Expect high-contact points — grips, charging handles, sling loops — to wear down faster. But that’s okay. That’s the goal. Your rifle gets a look that evolves with time.
Want it to last longer? Use a matte clear coat. But even then, expect scuffs. It’s camouflage, not candy coating.

Final Thoughts: Spray Paint AR-15 Guide
Painting your AR-15 isn’t just about covering it in camo. It’s about taking ownership. It’s about purpose.
Every coat you lay down says, “This is mine. This is how I use it.”
So don’t wait for perfection. Don’t ask permission. Just do it.
Go outside. Degrease. Shake the can. Make your rifle your own.
FAQs Spray Paint AR-15 Guide
Is spray painting an AR-15 legal?
Yes, in most jurisdictions, it’s legal to paint your firearm. Just avoid painting over serial numbers or markings.
Does spray paint affect AR-15 function?
Not if you prep and mask properly. Avoid coating internal parts and optics.
How do I remove spray paint from my AR-15?
Use acetone or a strong degreaser. It may take multiple passes, depending on paint type.
Can I spray paint optics or accessories?
Yes, but mask the lenses and adjustment dials. Many users paint mounts and light bodies for consistency.
Will it wear off quickly?
Some wear is expected. High-contact areas will show usage. Recoat as needed or embrace the look.
Is clear coating necessary?
Not required, but it adds a layer of protection. Choose matte finishes to retain the camo effect.


